Chapter 4
The portal from the customer's side
How a return and an exchange feel for your customer — from order lookup to the QR code at the parcel shop.
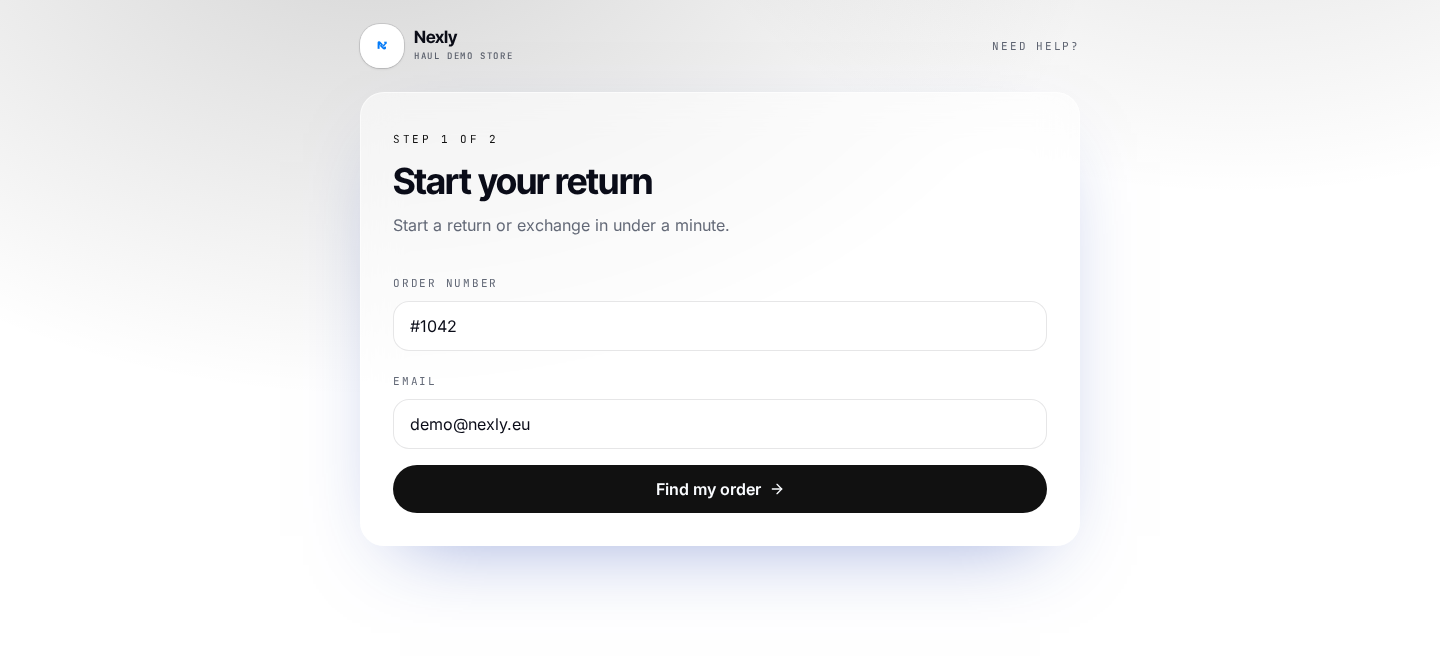
1. Look up the order
The customer enters order number plus email or postcode. Nexly pulls the order live from Shopify and shows items with image, variant and price. Items already returned or refunded are locked.
2. Pick items and reason
The customer selects items and a return reason from your list (too small, too large, not as expected, faulty). If comments are enabled they can elaborate — those comments are what later power the AI insight.
3. Exchange or money back
The portal offers an exchange first: another size of the same product, or another product from the catalogue. Stock and price are live from Shopify and in the order's own currency.
If the new item costs more, the difference is stated plainly and the button reads "Confirm and pay X extra" — the customer receives a Shopify invoice. If they choose a refund, any return fee and the store credit bonus option are shown.
4. Label and confirmation
On confirmation the customer immediately gets a reference code, a parcel-shop QR code and/or a PDF label — and the same in an email with your logo. Where free returns are not offered, they instead see the return address, reference text and a field for their own tracking number.
5. Status and survey
The reference link opens a status page where the shipment can be followed. Once the return is registered, the page asks one question — "How was your return experience?" — and the answers land in the analytics panel.