Chapter 1
Getting started with Nexly
From login to a live return portal on your own address. Budget 20-30 minutes the first time.
1. Sign in and find your way around
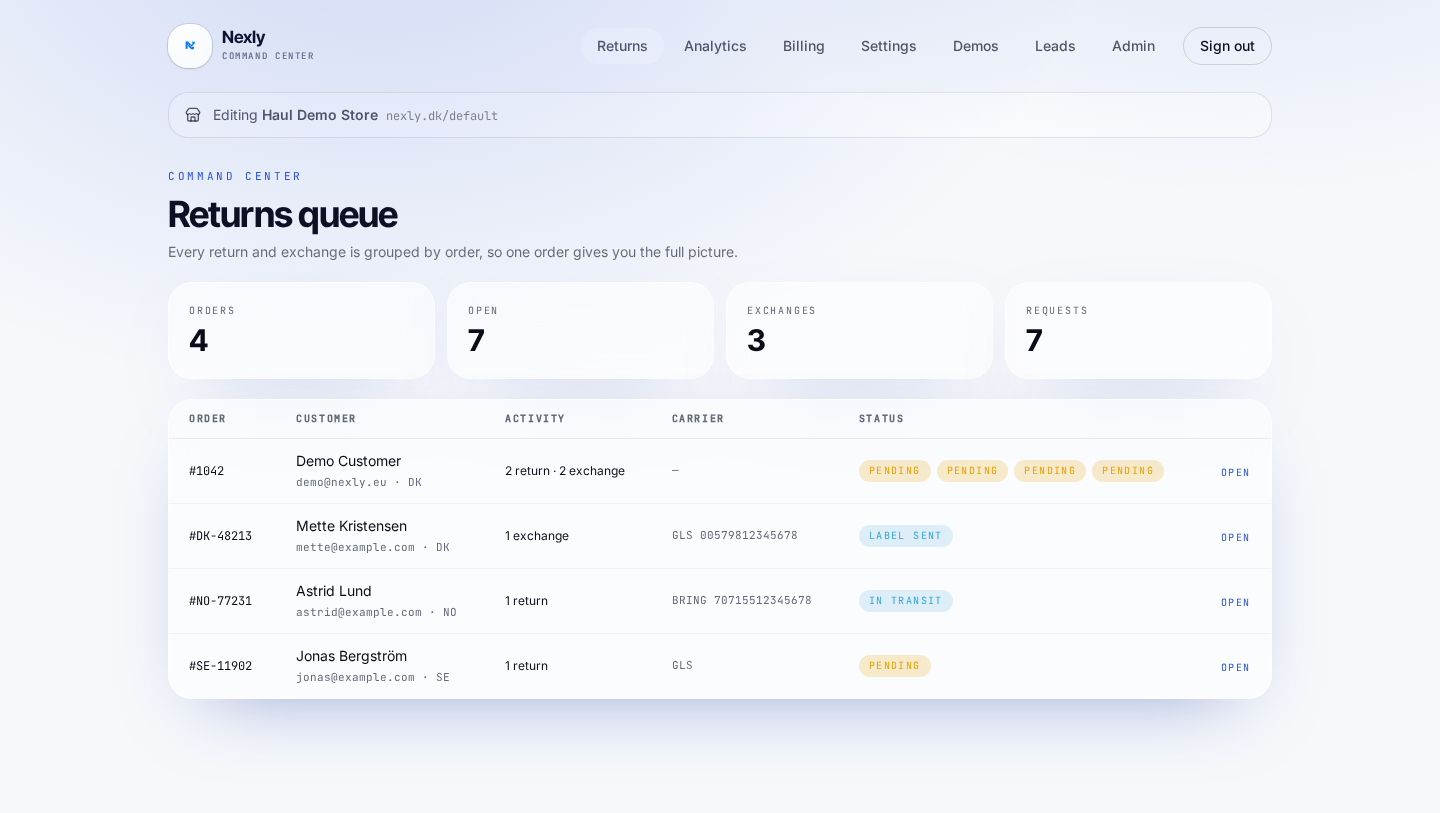
Sign in at nexly.dk/auth with the email your invitation was sent to. The tabs at the top — Returns, Analytics, Billing and Settings — are the entire workspace.
The banner under the menu always shows which store you are editing and the portal address, so you never change the wrong store.
2. Connect Shopify
In Settings → Integrations, paste your Shopify admin domain (store.myshopify.com) and an Admin API access token from a custom app in Shopify.
The token needs read/write access to orders, returns, refunds, products, customers and fulfillments. Hit Test connection — Nexly pulls a test order and confirms access.
- read_orders / write_orders — order lookup, cancellation, notes and tags
- write_returns and write_refunds — returns and refunds written back to the order
- read_products — exchanges to other products and variants
- write_fulfillments — shipping the replacement item
3. Connect your 3PL (Shipmondo)
In the same place, paste your Shipmondo API keys. Once tested, Nexly loads your carrier products and printer templates straight into the dropdowns.
Then pick a template per country — for example GLS parcel shop in Denmark, PostNord in Sweden, Bring in Norway and DHL in Germany — for both return labels and outbound exchange labels.
4. Brand the portal and set the address
Upload your logo and pick primary colour, accent, background and corner radius. The portal applies your colours instantly — including the return label email.
Set your URL slug so the portal lives at nexly.dk/your-brand. To host it inside your own Shopify page, copy the embed snippet at the bottom of Settings onto a Shopify page.
5. Run a test return
Open the portal, look up a real order, pick an item and complete the flow. Check that the label email arrives, that the Shopify order has a return and a nexly tag, and that the case shows up in the returns queue.
Once the test is green, link the portal from your returns page, order confirmation and support emails.